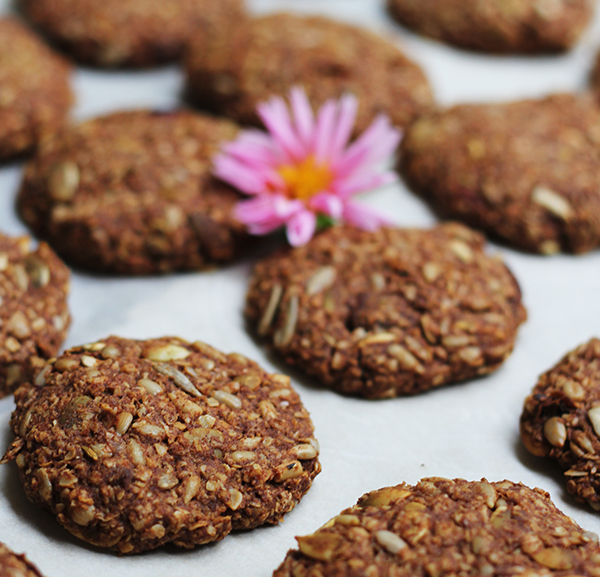
A quick and wholesome lunch, simple dinner, savoury hearty breakfast or an on-the-go wholesome snack / plant-based meat-free alternative to bring to your next family event or Aussie bbq!
These delicious morsels of love are one of the MOST exciting, simple and yummy vegie-licious wholesome recipe creations to be born out of the Wholesome Kitchen!
I first developed this recipe for one of my clients who came to see me for holistic Ayurvedic Wholefood nutrition support for a series of health challenges he was experiencing. He needed a recipe that was quick and easy to make (as he travels a lot, is busy and ussually is just cooking for one), nourishing and nutrient dense, gluten-free, dairy-free, egg-free, nut-free and that was something he could eat that had ‘texture’ so he had the experience of biting into something, along with enjoying the delicious soupy Kitchari’s and Soups that I gave him to have also.
…The result, HE LOVED them, and so did I!
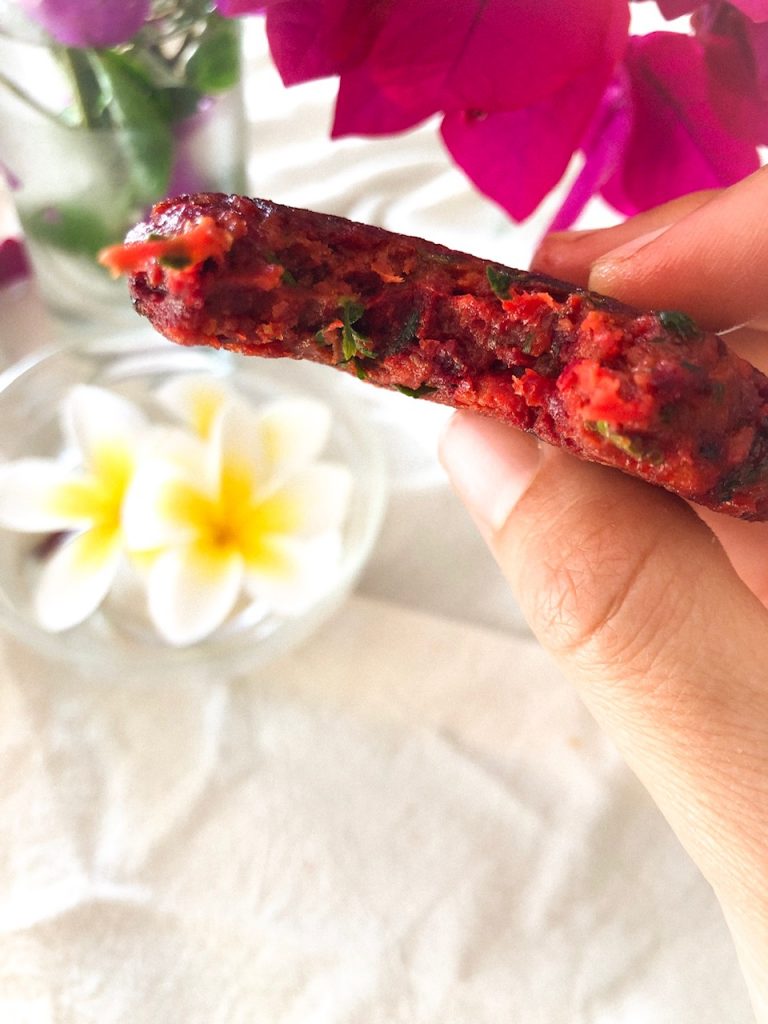
These patties hit the ‘Pattie spot!’ (if that’s even a thing!), and when you try them at home also, I think you’ll find they hit your ‘Pattie spot’ also! (…Please do email me to let me know!)
Since this recipe came into being I have made it a personal staple in my weekly Meal planning and have enjoyed these beauties for Breakfast, Lunch and Dinner at various times throughout a week!
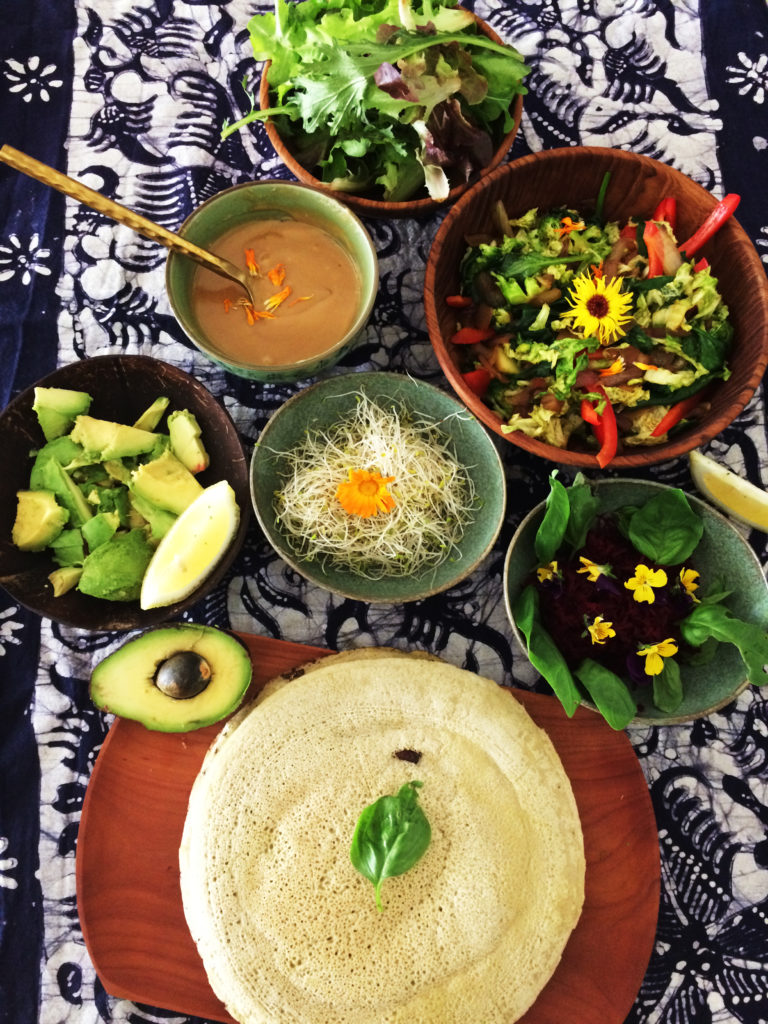
I recommend serving these Patties with some fresh organic leafy greens dressed with a little olive oil and lemon or apple cider vinegar. So yum!
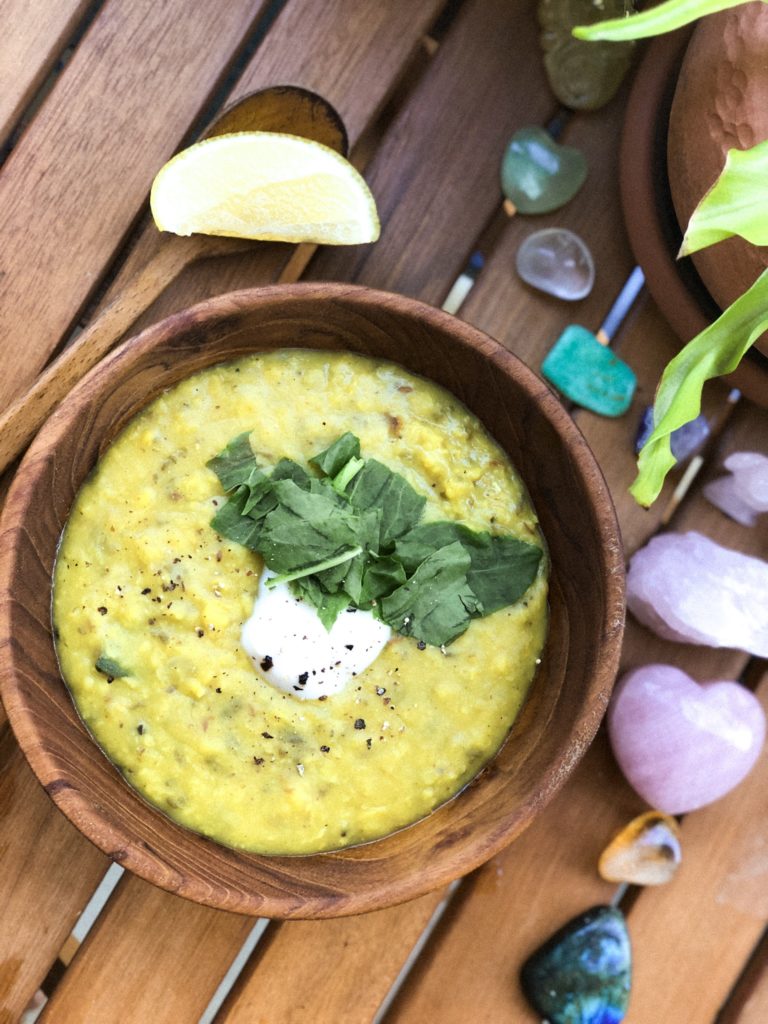
These Patties can also be enjoyed as something ‘substantial’ with a light evening soup or with a little chutney as a yummy tasty snack!
As this recipe takes less than 15 minutes to make for one person (as a quick ‘what should I take for lunch today’ meal! …don’t worry, we all have those moments!) I have written this recipe to be the perfect amount for ONE single person to make, with no excess/no wastage and so it’s something you can easily follow for making yourself a quick meal when needed!
If you wish to make a larger batch for an event, a gathering, for the week and or for the whole family, you can simple double, triple or quadrouple the quantities to make it suit your desired situation and how many you wish to cook!
So, without further adue… here is the recipe for the worlds most divine, mourish, tasty, wholesome, Ayurvedically dosed in digestive loving spice and harmonious food combining qualities (…I know it’s bold, but I’m going to just go ahead and claim that these are the worlds best, because to me, they ARE!)
Enjoy my loves and please let me know how you go by coming to say hello to me over on my instagram!
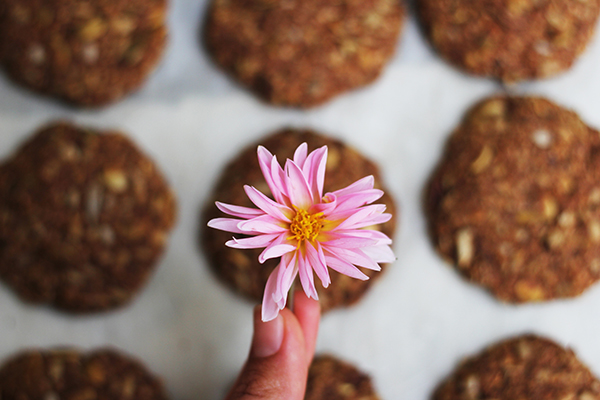
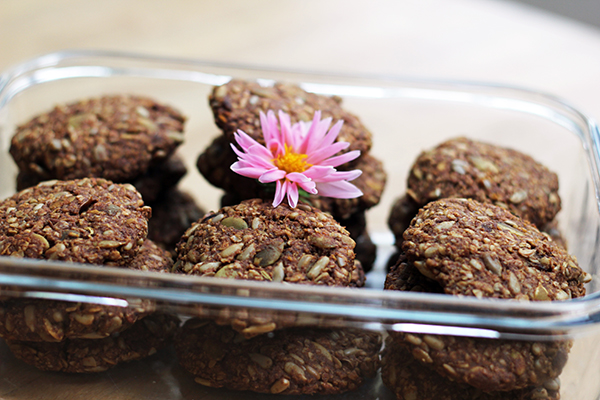
Wholesome Ayurvedic Beetroot Garden Vegie Patties Recipe
(Gluten-free, dairy-free, egg-free, nut-free, sugar-free… totally delicious though!)
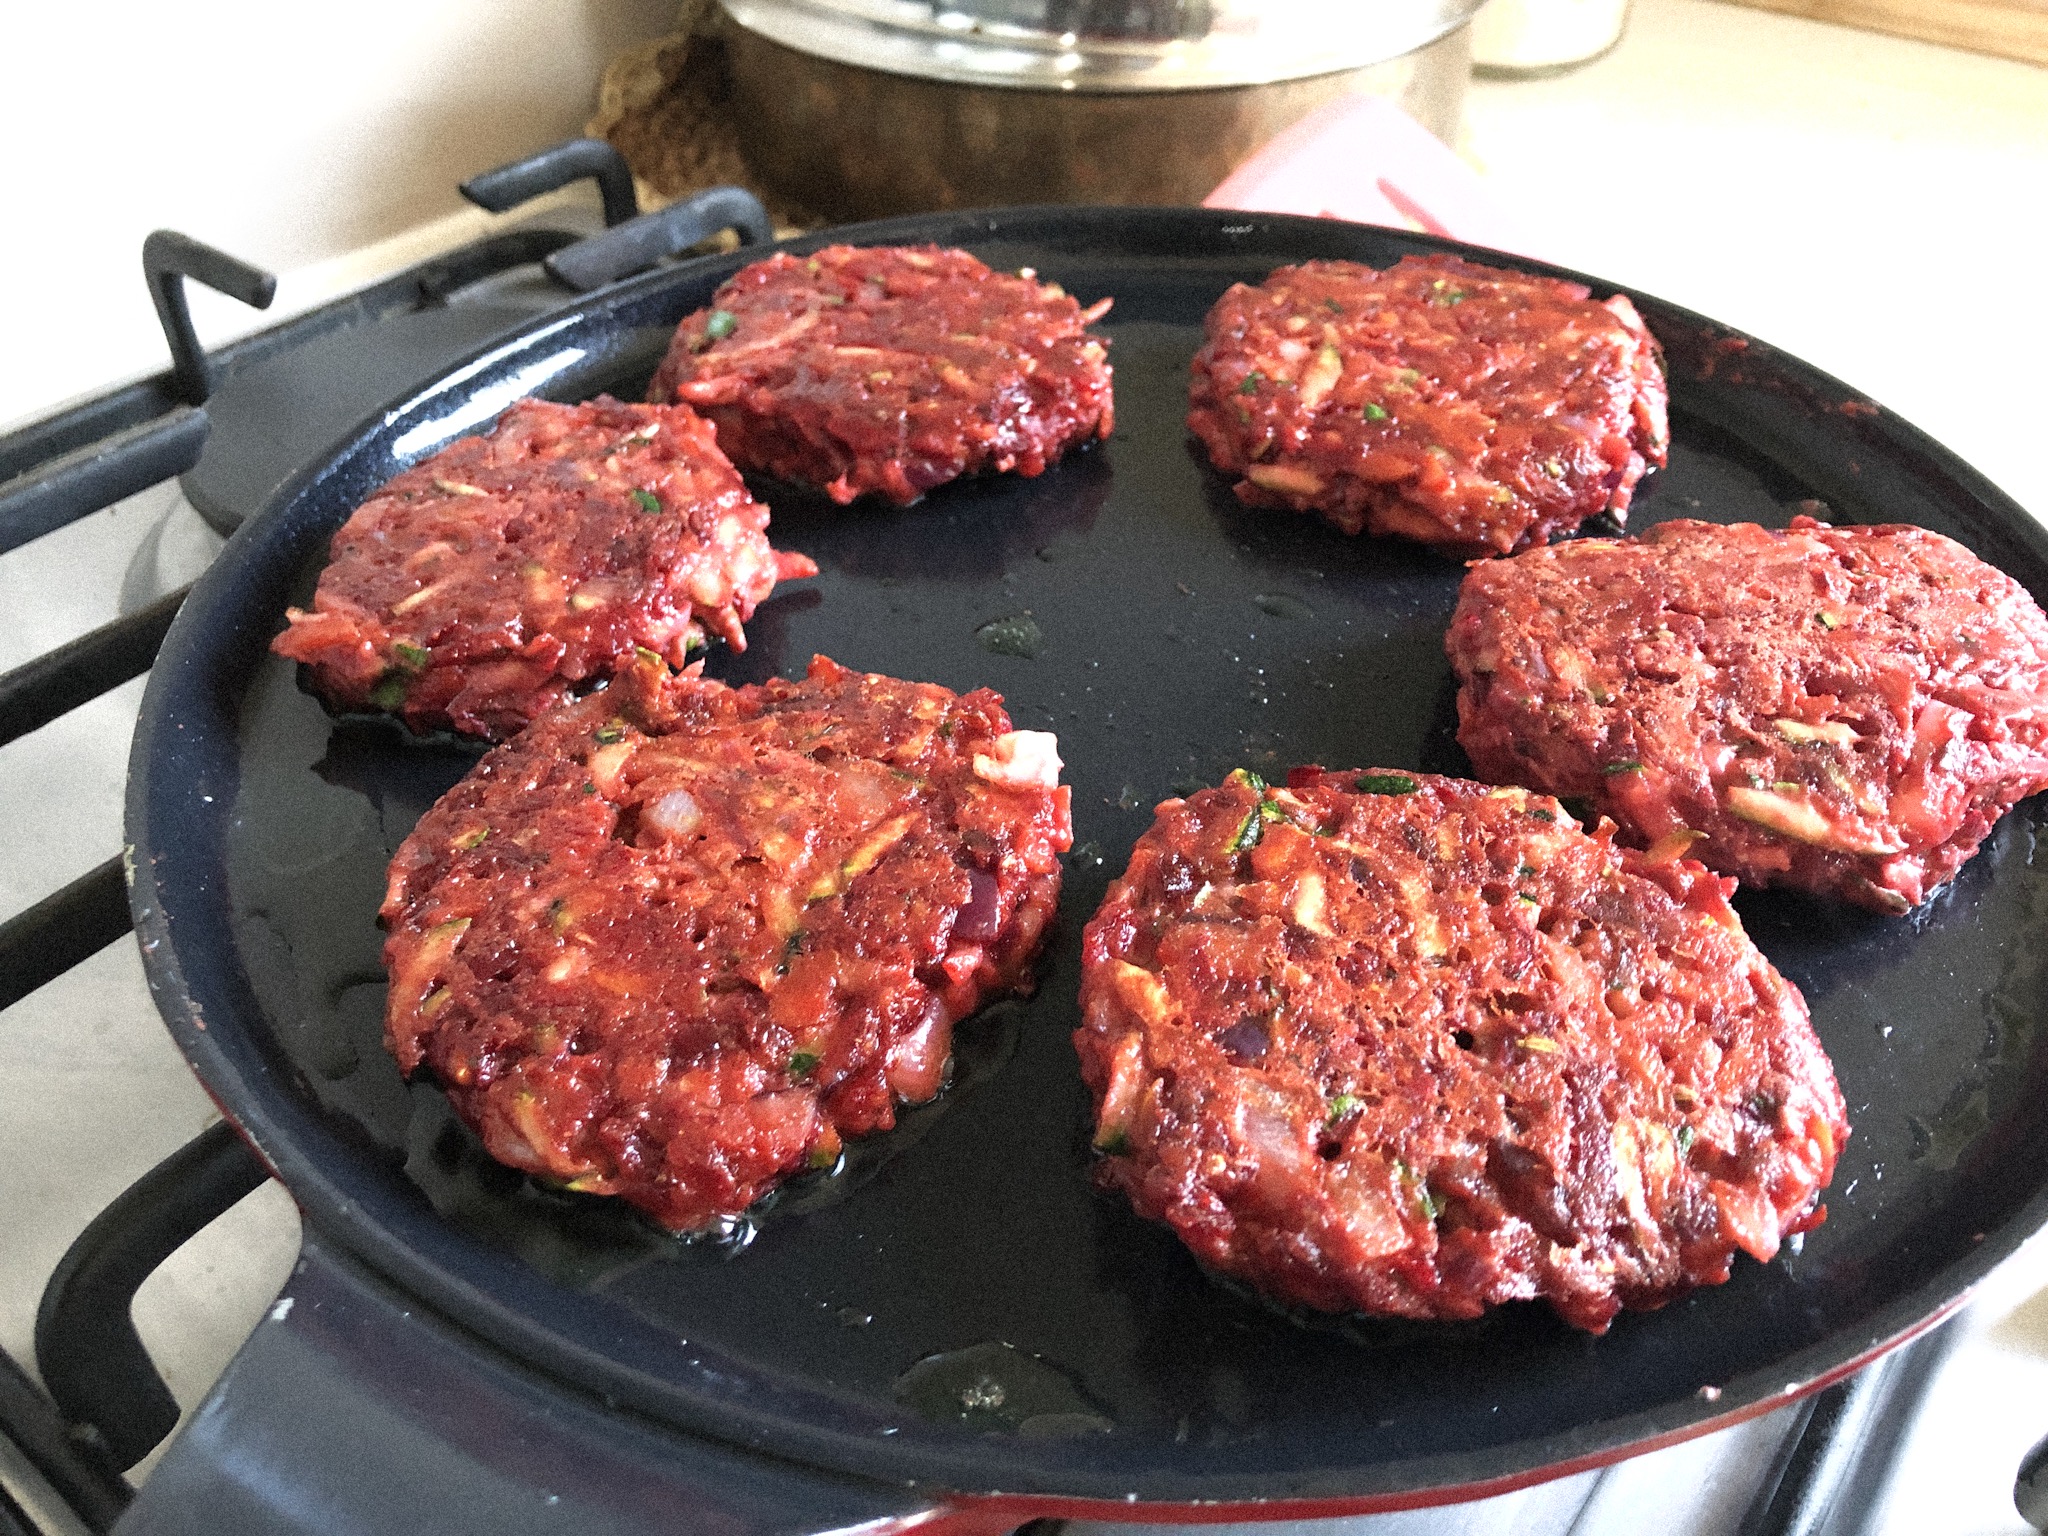
Serves 1 person (this recipe makes 6 small yummy patties!)
Ingredients:
- 1 medium organic beetroot grated
- 1 medium organic carrot grated
- 1 medium organic zucchini grated
- 1 small red onion finely chopped (optional if onion doesn’t agree with you!)
- 1/2 cup of besan flour (chickpea flour)
- 1/4 tsp of turmeric powder
- 1/2 tsp of cumin powder
- 1/2 tsp of coriander powder
- 1/8 tsp of ajwain seeds (you can find these at asian/indian grocery stores)
- 1/8 tsp of fennel seeds
- 1/2 tsp of himalayn salt
- a few cracks of black pepper
- 2 tbsp of Coconut oil or Ghee for cooking
Creation Process:
- Add your grated beetroot, carrot and zuchini to a medium mixing bowl and mix them into each other using your hands so the three of them are well combined.
- Add your red onion, turmeric powder, cumin powder, coriander powder, ajwain seeds, fennel seeds, salt and pepper and mix through.
- Slowly add your besan flour (chickpea flour), stirring as you add it so that any clumps in the flour get broken up and properly integrated into the mix. Once all of the flour has been added, use your hands to ‘massage’ the mix, squeezing the mix inbetween your hands to allow the naturally occuring ‘water content’ of the vegies to form a nice ‘batter’ with the flour.
- Once it’s all well mixed, juicy and a good ‘Pattie’ forming consistency, you are ready to form your patties so they can be cooked. To ensure the patties stay together and form a nice shape that you’d want to eat, I recommend taking a small-medium amount of the mix and forming a ball with it in your right hand, then transfering it back to your left hand, and back again until its a nice well firmed morsel. Then to make it ‘Pattie-ish’ gently use your hands to press the pattie ball into a flatter shape suitable for cooking! You are now ready to cook the patties! Yay!
- To cook, allow your healthy non-stick pan** to warm for 2-3 minutes with a little coconut oil or ghee on the pans surface. Once it is warm, place your patties one by one on the pan and allow them to cook for 4-5 minutes before carefully flipping them over with a spatula to cook the reverse side.
**(If you’re looking for a good healthy non-stick pan, the one I use is the Pancake/Crepe pan by Neo-flam, I’m not paid to say this, I’m just a big fan so want to share the good pan love!)
And that’s it! You did it!!
You made the worlds best, Wholesome Ayurvedic Beetroot Garden Vegie Patties and are about to enter a whole new realm of digestive feel-good ‘goodness’, love, joy and simple soulful – nourishment satisfaction!
If you loved this recipe, please let me know over on my instagram and or by dropping me an email saying ‘Pattie love!’. …These are my favourite kind of emails to receive!
P.S. If you are interested in diving deeper into the world of Wholesome Ayurvedic Wholefood Nourishment, in your Kitchen then my new soon to launch 6-Week Ayurvedic Food & Lifestyle Transforamation program, ‘Simple Ayurveda in Your Kitchen’ could be just the next step for you!
…To find out more and be first to know when the doors open next, click here to enter your details and join the official course waiting list!!!
Yay and yesss to feel-good nourishment in life!!!
Loads of wholesome love, joy and warm yummy delicious Kitchen wishes!
x Lorien


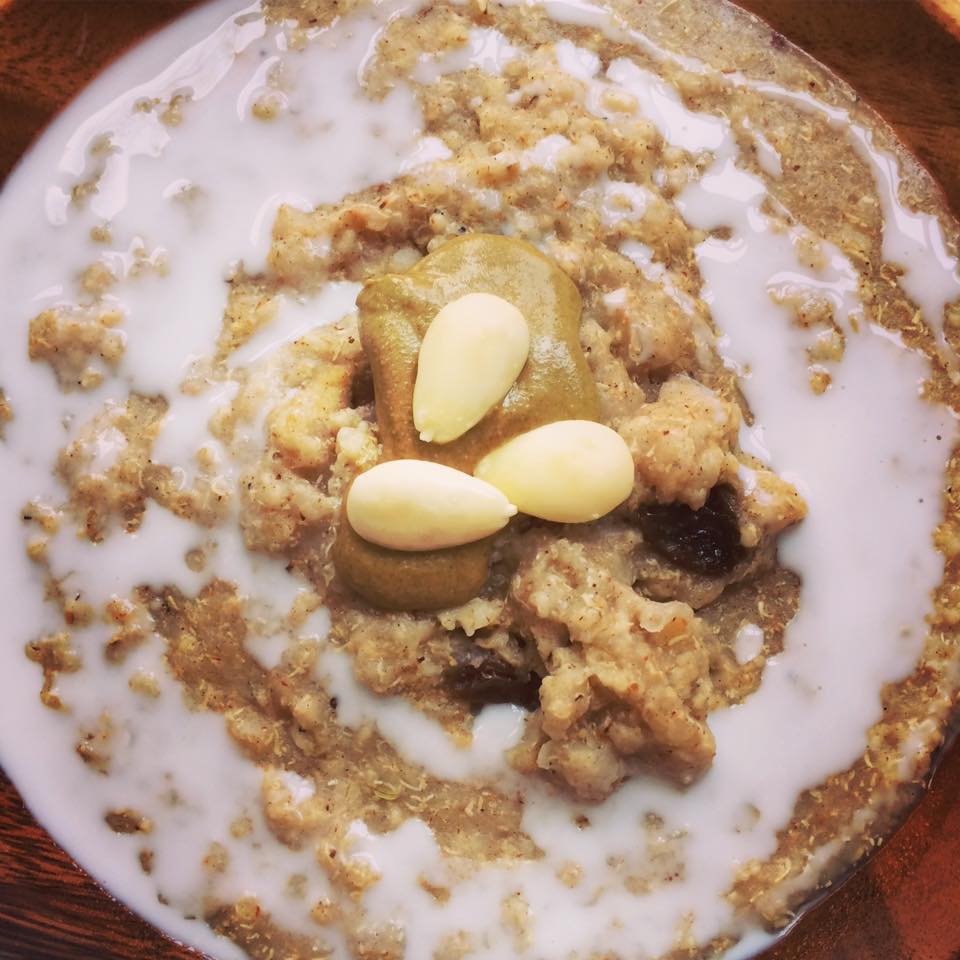
 Breaking your fast…