 Hello beautiful friends & happy December!
…Over here, where I am (home-base Byron Bay/Northern Rivers – Southern hemisphere Australia), we are enjoying the gradual change of the seasons… Spring going into Summer.
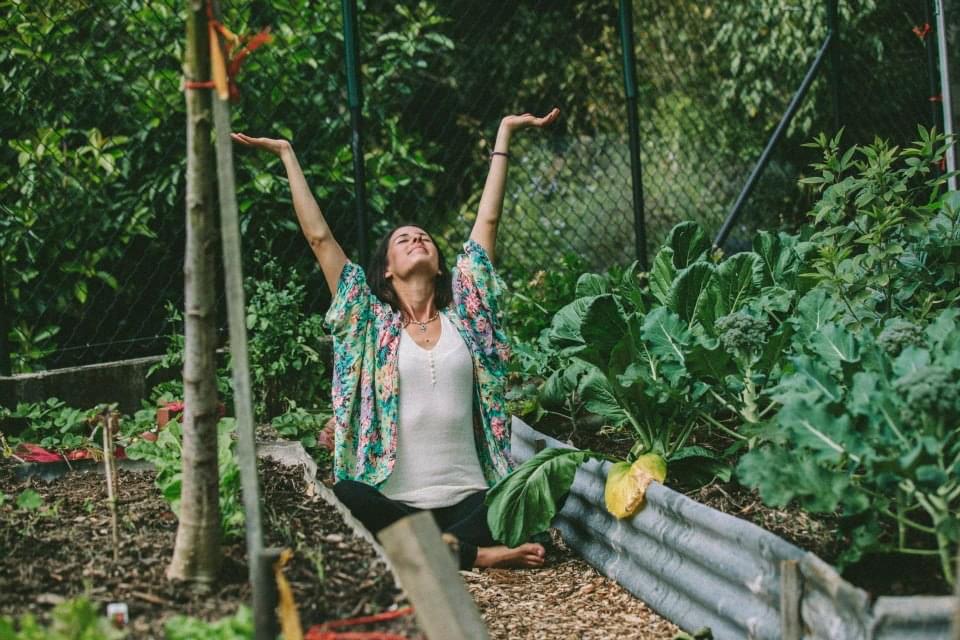
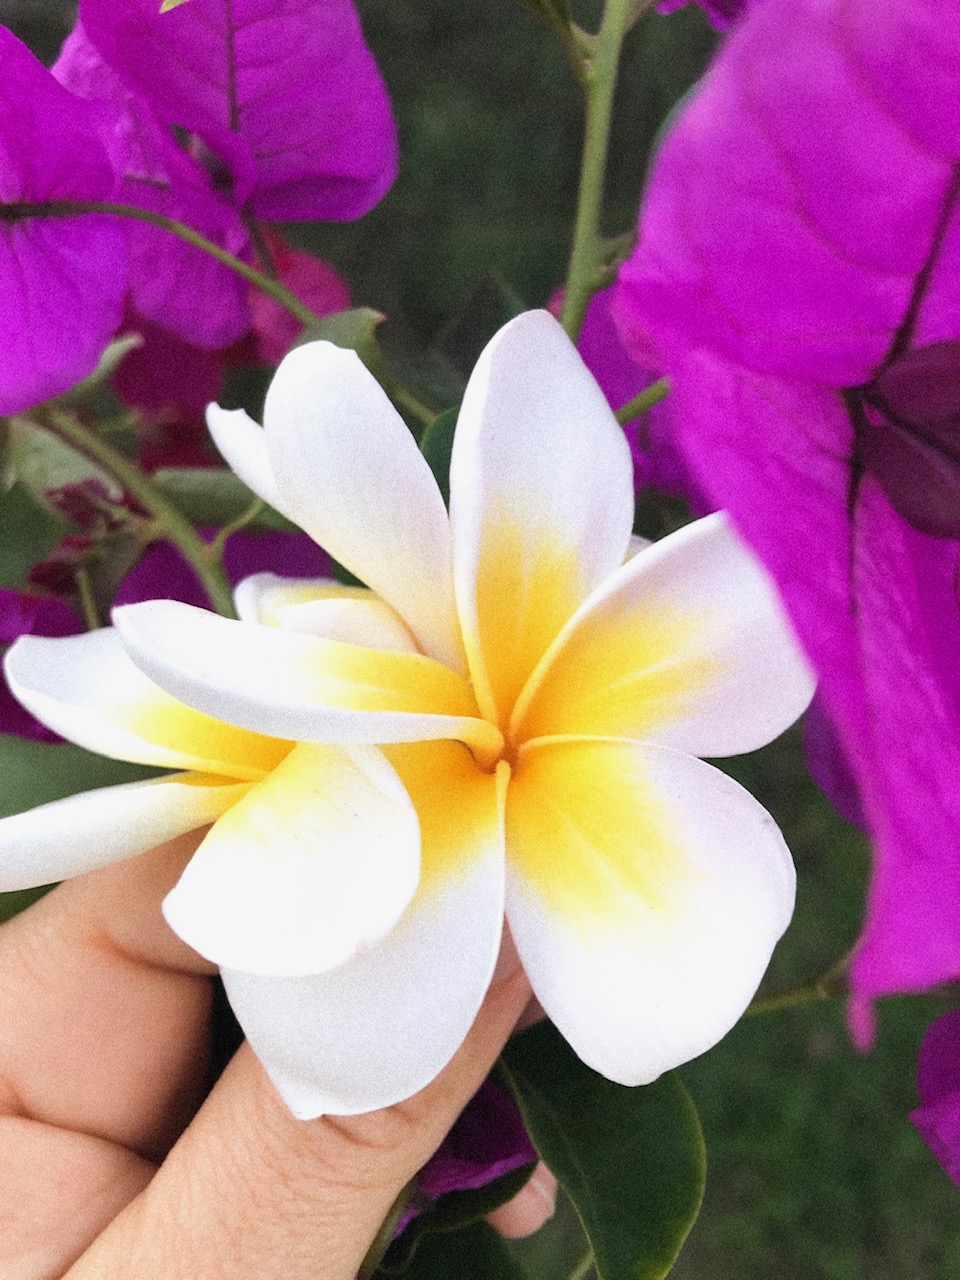
The frangipani trees in our street are sprouting their gorgeous thick leaves and white and gold blooms, the birds in the trees of a morning are singing and chattering with extra fervour and joy, and the days are feeling more humid, warm and also are getting longer… (With first light at around 5.30am now and Sunset as late as 7.30pm.) We’ve also been having lots of summery-spring rain on an off – giving the earth such a good drink (and my little flower and vegie gardens!) cooling things down and providing a cosy invitation to enjoy being at home, going more ‘inward’, getting into some baking and creative cooking/recipe exploration and more resting (in my case, with our baby on the way, currently 8-months pregnant as I write this post, ‘nesting’!)
 I always find the rain to be so refreshing – cleansing, purifying and ‘resetting’… and the perfect opportunity to sit and journal, draw, do some ‘art’ or, like this morning, to open my laptop and write this fresh post – to support balance in this season!
Whether you’re in the Southern hemisphere like me, or on the other side of this magical world in the Northern hemisphere – I hope you are thoroughly enjoying and relaxing into the seasonal transition that is currently going on right now for you…
In Ayurveda seasonal ‘junctures’ hold so much potency and power to acknowledge and appreciate within ourselves and also in the way we support our bodies, minds and spirits to transition.
![]() My number #1 Ayurvedic Seasonal Transition tip’s for you depending on which transition you’re currently in (based on where you are in the world) are:
My number #1 Ayurvedic Seasonal Transition tip’s for you depending on which transition you’re currently in (based on where you are in the world) are:
For my Southern Hemisphere friends: Going from Winter to Summer (via Spring), we want to optimise our bodies ability to ‘melt’ excess ‘Kapha’ (Earth + Water elements) in our system that can manifest as heaviness, fluid build up, congestion, swelling and stagnation as the weather gets warmer (if not balanced).
3 Simple Ayurvedic Lifestyle Practices that can support your body in naturally and gently ‘spring cleansing’ in preparation for Summer are;
~ Start incorporating more regular physical movement/exercise into your daily routine (if not already) to support sweating of excess (water + earth elements) via your pores, circulation, oxygenation of your bodies tissues and great blood flow (therefore better natural detoxification). Think: going for a 30-45min brisk walk each morning upon rising, and if possible in the afternoon/evening also to support your bodies ability to ‘melt’ the kapha qualities and get things flowing
~ Enjoy making and sipping on some fresh Ginger tea throughout the day. Ginger is one of the most powerful yet simple ‘herbs’/wholefoods loved in Ayurveda for it’s ability to support opening and flushing the bodies channels, stimulating good circulation, clearing stagnation and supporting our Agni (digestive fire and metabolism) in Ayurveda. Simply boil a tsp of freshly grated ginger in 2 cups of water for 5-10mins on the stove, then lit cool to a comfortable warm drinking temperature, strain and enjoy (or store in a thermos to sip throughout the day!). So yummy, and such a simple way to support the body’s natural ‘spring cleansing’.
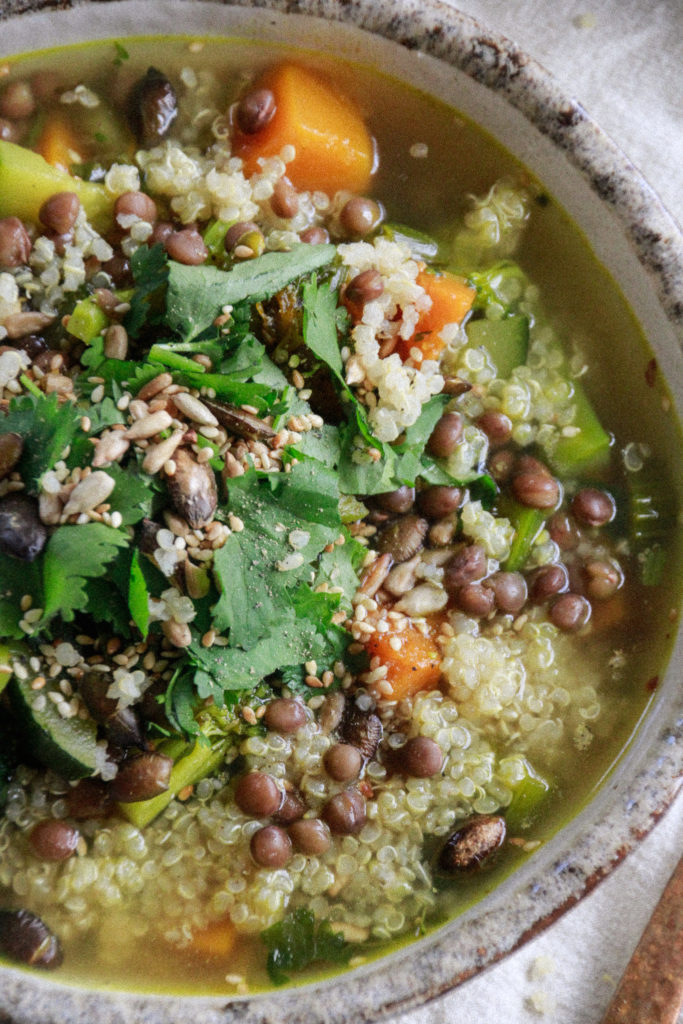
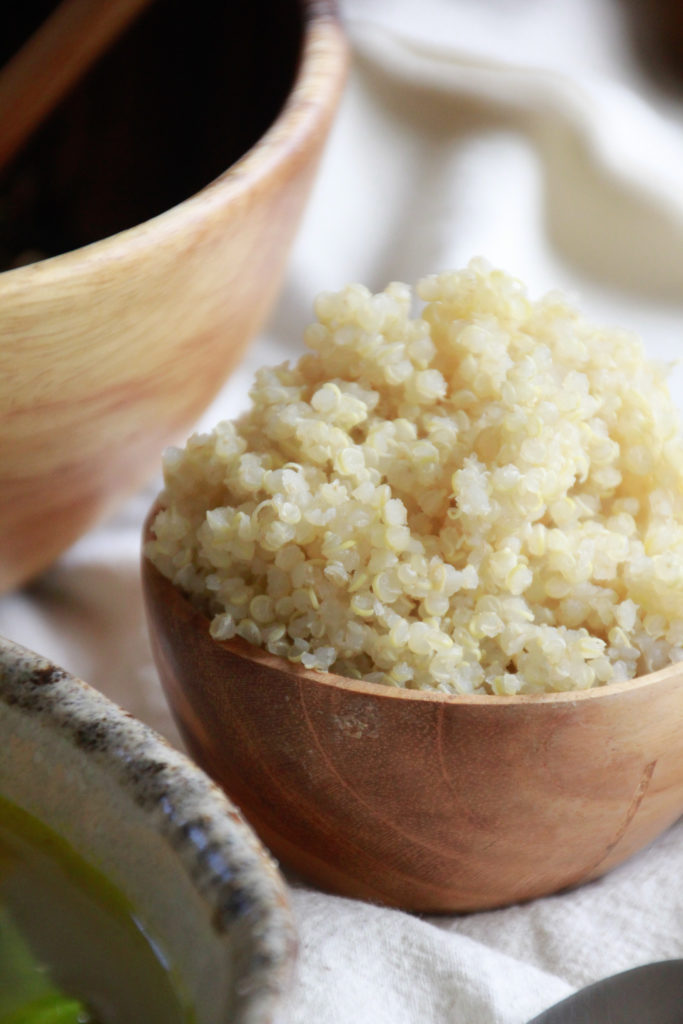
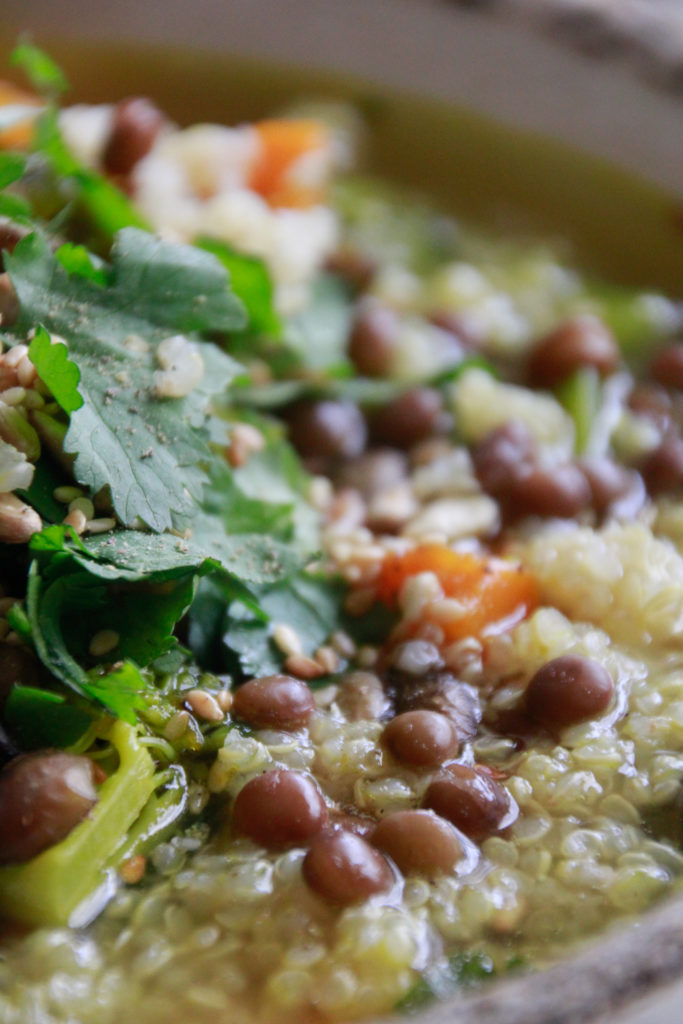
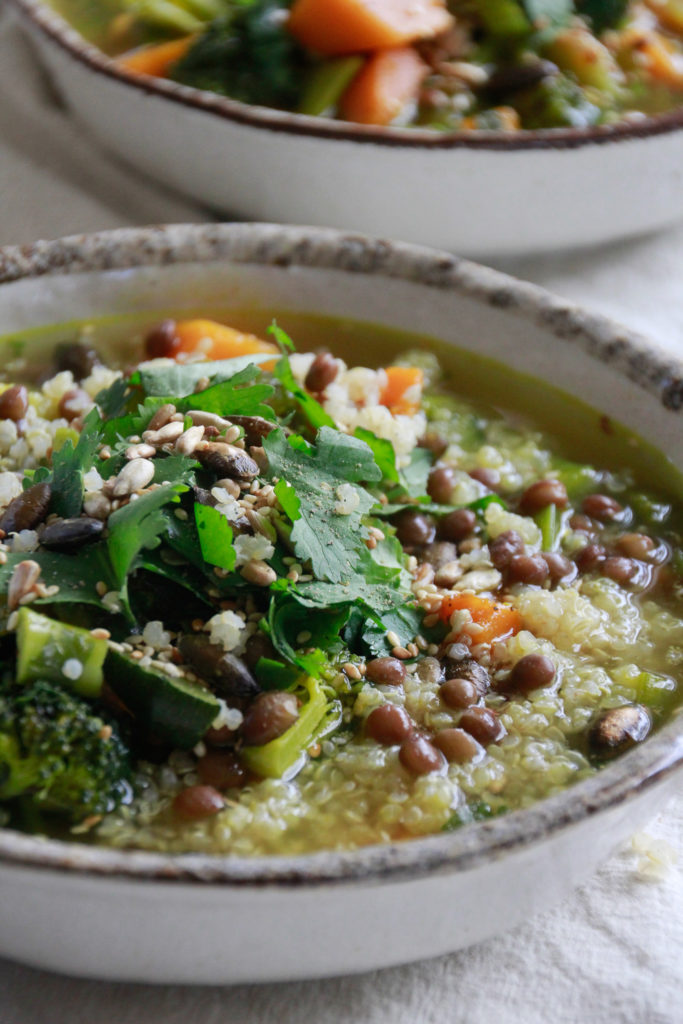
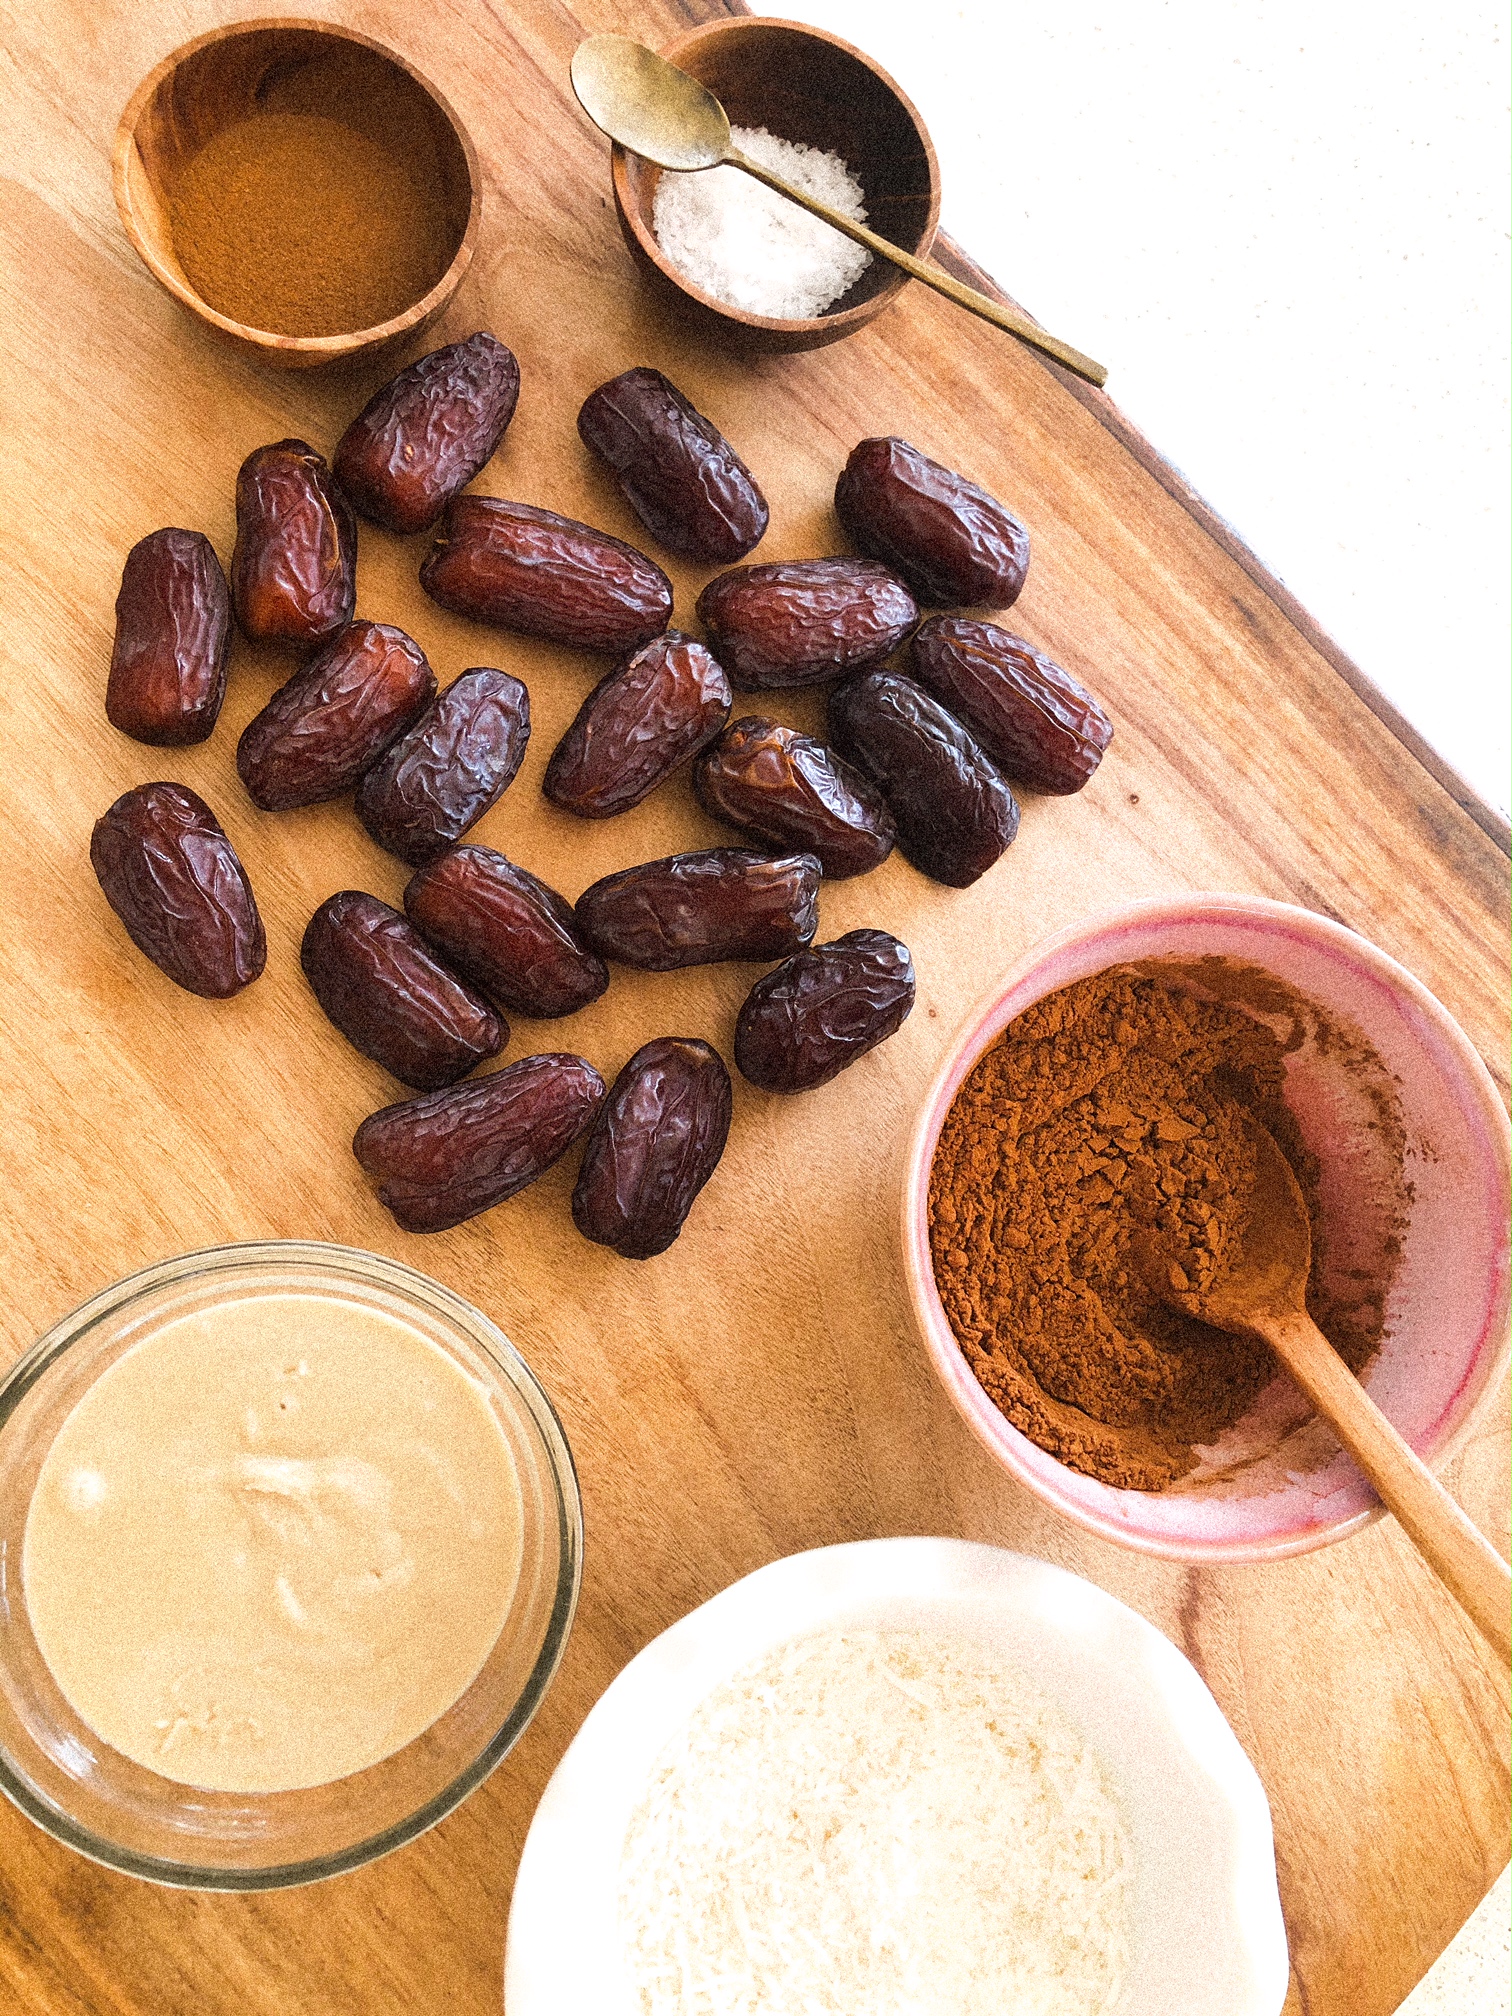
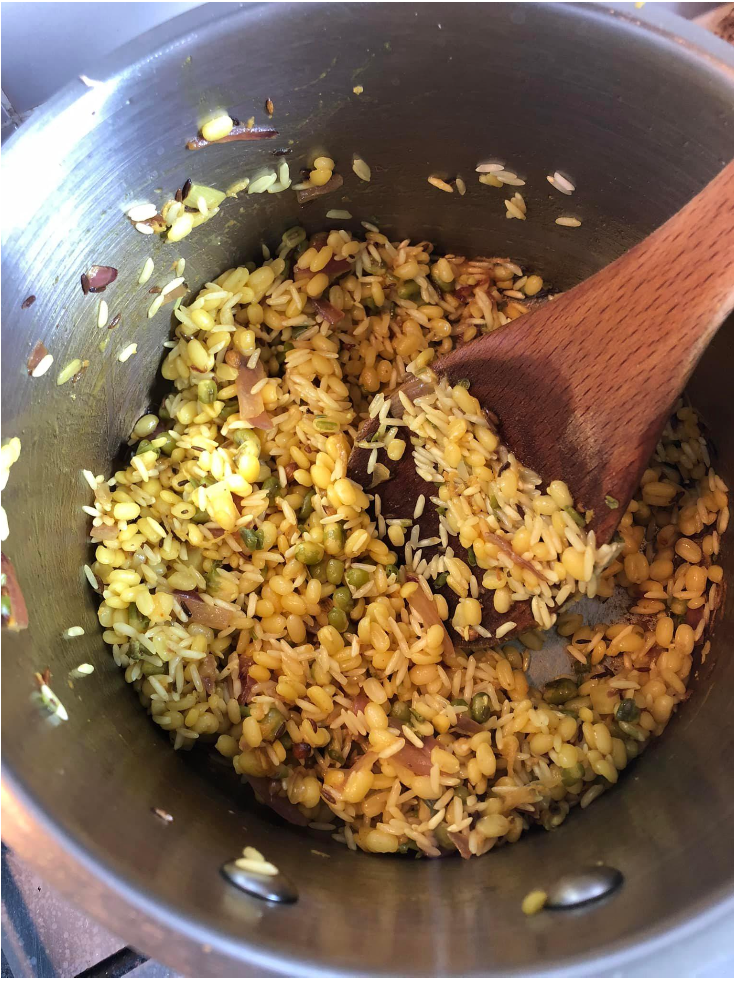
~ Focus on eating slightly ‘lighter’ in quality foods (to support your body in ‘melting’ excess ‘Kapha’ build up from winter and be mindful to have less ‘heavy + sweet’ quality foods in your diet. Think: Eating more nourishing healing and simple Soups (…my Sunshine Vegie Soup , Moong Soup or Kitchari recipes are perfect for this if you happen to have my e-book!), more lightly cooked or even juiced greens and fresh herbs (greens are so wonderful for supporting our livers cleansing process via their ‘bitter’ taste and powerful oxygenating nutrients), and minimising ‘white’ foods at this time of the year like ‘dairy, ice cream, wheat breads, heavy coconut products and cold foods as these foods have a naturally ‘building + dampening’ effect with their ‘earth and water’ predominant qualities. Instead of further ‘building’ & ‘dampening’ we want to support ‘melting’, warming and ‘lightening-up’ in spring, so that once summer fully arrives our channels are clear and able to expel the heat of summer with ease, ultimately helping us stay cooler and more balanced come that time! Think of this time of year as your ‘summer preparation’.
Northern Hemisphere friends: Going from Summer into Winter (via Autumn), we want to optimise our bodies ability to release and expel any excess ‘Pitta’ (fire + water) elements in our system that may have built up over Summer and we also want to begin nurturing and balancing ‘Vata’ (air + ether) elements that become more predominant in the environment, and therefore in our own bodies and minds during the Autumn – going into Winter months. Trapped ‘heat’ from summer may manifest as mild inflammation, skin issues/aggravation, digestive upset, feeling agitated and dehydration of the bodies tissues and ‘Vata’ out of balance in may manifest as feeling super ‘spacey’, wavering appetite, dry skin, hair and nails and dehydration also.
3 Simple Ayurvedic Lifestyle Practices that can support your body in naturally and gently ‘autumn cleansing’ in preparation for Winter (with Vata and Pitta being well nurtured and balanced) are;
~ Getting into a practice of daily self-massage with warm organic cold-pressed black sesame oil, coconut oil (if you are in a tropical part of the world) or sweet almond oil. This is one of the most fabulous simple Ayurvedic feel-good daily routines we can gift our beautiful bodies, especially during Autumn to support re-hydration of our precious skin (the largest organ of our bodies!), lymphatic circulation (one of our main detoxification pathways), good circulation (important for nutrients to nourish and oxygenate our cells) and bringing a calming and deeply nurturing quality of ‘warmth’ into our tissues and cells, supporting good ‘Agni’ (digestive fire + metabolism). After a busy ‘summer’ the practice of self-massage, known as ‘Abhyanga’ in Ayurveda is also so grounding and healing for our nervous systems and the mind. To perform self-massage you simply need to get yourself some organic good quality oil, warm it up (I have a new online class, ‘Lifestyle Love’ launching next week that will be available for you on this if you are like me and love to have clear instructions/learn the best tips to make this routine easy!) and then prior to having your morning or evening shower, lovingly massage the oil into your skin starting at your feet and working your way up to your head. After massaging the oil into your gorgeous body, have a warm shower and rinse excess oil off (no need to use soap though), as the ‘warmth’ of the shower will facilitate your pores opening up more, allowing the oil to penetrate deeper into your tissues to work it’s magic, and then dry yourself with a ‘old-towel’, (as your towel will get a bit oily!) and then you’re done. Hydrated, nourished and blissed out…. (Trust me, self-massage feels heavenly and so amazing! Once you do it a few times, you will be in love with it and hooked for life!)
~ Focus on sipping warm water and herbal teas (some of my go-to-favourite herbal teas: ginger/tulsi/dandelion/nettle/green tea) throughout the day (instead of cold/icy water or other drinks) to support your body in gently removing excess ‘Pitta’ from Summer via assisting lymphatic flow and therefore good elimination, re-hydrating your cells and tissues (warm water is known to be far more effective at ‘hydrating’ our body than cold water as with ‘warmth’ our cells open up, whereas with ‘cold’ we contract and close), and as simple as it is, warm water is deeply nervous system relaxing. Again, think of how you feel when you get into a nice warm bath or shower… there’s a sense of ‘opening’ and softening that happens. When we drink warm water we stimulate the same relaxation response and this is also fabulous for helping relieve any build up of ‘gas’ or bloating that can happen easily during Autumn (with the increase in Vata qualities around us in nature and therefore inside of us), and good bowel movements and elimination.
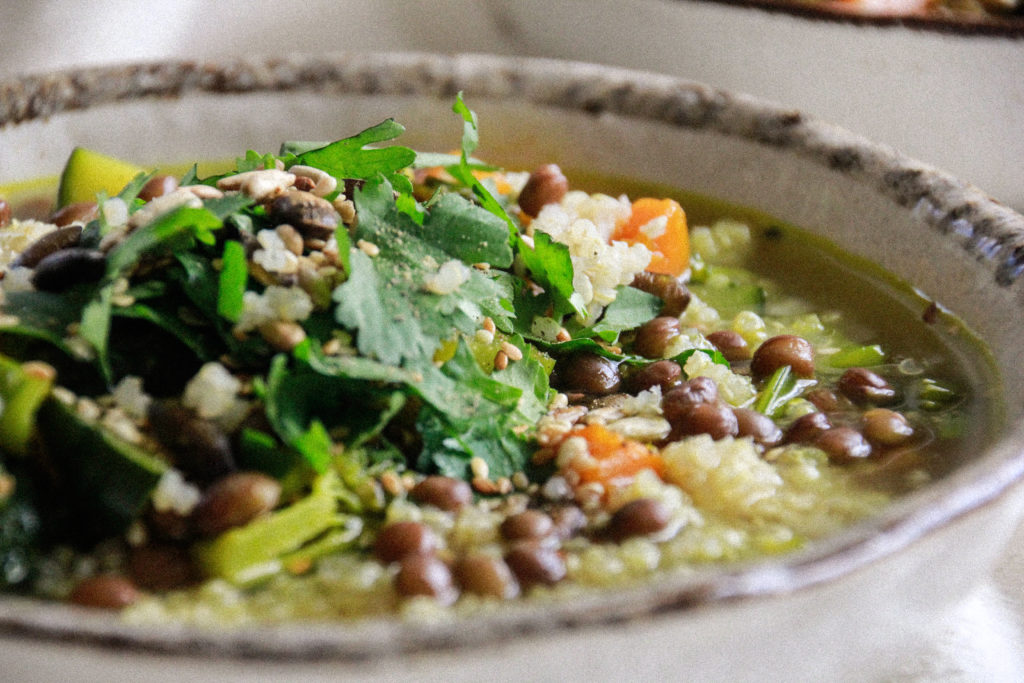
~ Food-wise, Soups & Dhals that are warm and light will be super nourishing and supportive during Autumn’s seasonal transition. During Autumn, our digestive fire can need some extra support (due to Vata’s higher presence making our digestion sometimes erratic). Wholesome and nourishing Soups and Dhals are a great choice, porridge for breakfast, warming stewed apples, berries yummy simple vegies dishes (like my Vegie Subji recipe with homemade chickpea besan flour pancakes and chutney, all recipes that happen to be in my new on-demand online cooking class ‘essential nourishing sides’ launching next week!) – are great simple wholesome meal options that will be super feel good and nourishing during Autumn. Think warming and grounding as your two main ‘food-quality’ focuses during this time of year.
Seasonal transitions are magical portals / opportunities for our body and mind each year…
If you look to nature you will see that most plants and trees go through many changes throughout the year, at each new season… At the start of summer the leaves are generally green, lush, juicy and so ‘fresh’ looking (like the tree’s in my street outside my window right now here), and at the end of Summer, going into Autumn, these same green juicy leaves take on a different hue of natures majestic beauty either shedding completing or turning to a warm golden tone, indicating the tree/plant starting to send it’s energy and resources back ‘inside’ more fully for Winter preparation and internal nourishment, rejuvenation and renewal… To then once again be able to ‘blossom’ in good timing.
We too are the same!
Each season holds so much beauty for us, for our minds, bodies and spirits if we can learn to harmonise and work with the season, with Mother Nature and embody for ourselves whatever it is we need to or feel called and guided to do, for our own smooth transitions and the ability to optimise each seasons magic through feeling grounded, balanced and vital – in harmony inside.
Love & seasonal blessings to you and your loved ones!
x Lorien


 Ahhhh, it’s Spring – and such a beautiful, lush and refreshing Spring season it has been so far here in Australia right now too!